
Ok, at this point in the world PP (that’s ‘Post Pinterest’), everyone knows about Chalk Paint. There was a time when I was super excited about it – sucked into the trend. I even went and bought fixings to make my own chalk paint. Because I’m a *true* DIYer, none of that store-bought nonsense! *rolls eyes*
REALITY CHECK my friends. The plaster of paris, wax, and paint I had for the project sat. And sat. And 2 years. Yes, TWO YEARS later, they still sat on a shelf in our very tiny utility closet. Total waste! I had planned to paint the table you can see in this post but chickened out.
 However, while walking the aisles of Michael’s, I came across this bad boy…Plaid Folk Art Home Decor Chalk in Oasis


The directions were straight forward – because, duh, it’s chalk paint. SLATHER ON. REPEAT. NOW WAX. Sound’s simple, right? But now, what to paint…. We’ve been (and by ‘we’ I mean I) discussing a new desk for a LONG time. But We wanted a simpler desk… which meant that we’d have to be more creative about storage. And also meant that the Printer would not be allowed to live on the desk. So I was on a quest for a printer-stand-in, when I found this beauty at a goodwill for under $10 after discounts.
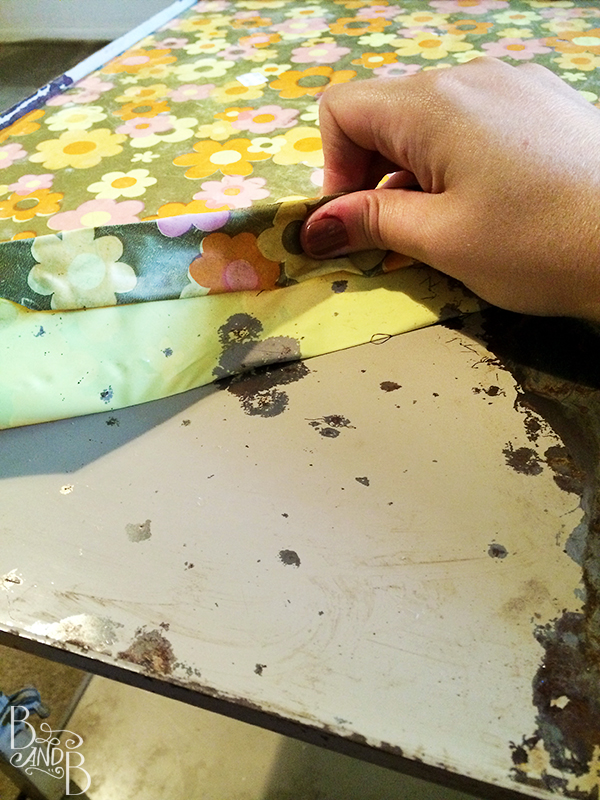
 Yes, friends, check out that beautiful 70’s flower contact paper! And the exciting buff-bland-office paint job! I mean, I can’t believe this was ever cast off! (Sarcasm font)
In all seriousness, this baby was the PERFECT size for the space I was working with, and it was adjustable for better height needs. It just needed a little love first. Like removing those flowers!
 Unfortunately, once the contact paper began to peel, it was immediately apparent there was some rust issues going on. Though a new layer of contact paper would take care of it, I was worried it would still not cover as well. So before I zapped the top with a quick coat of spray paint, I gave the entire piece a good scrubbing with some steel wool to buff off as much rust and poor texture as possible,
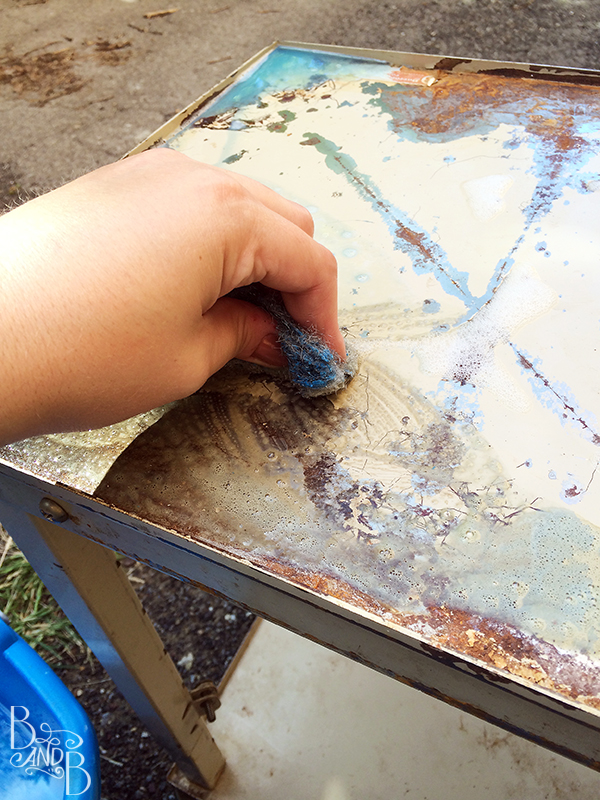
This step, though wildly messy (especially living in a place without a hose!) is really critical if you want your contact paper to lay flat and smooth, and it does really help the chalk paint too.
Once the steel wool was done, it was time for a little spray paint.
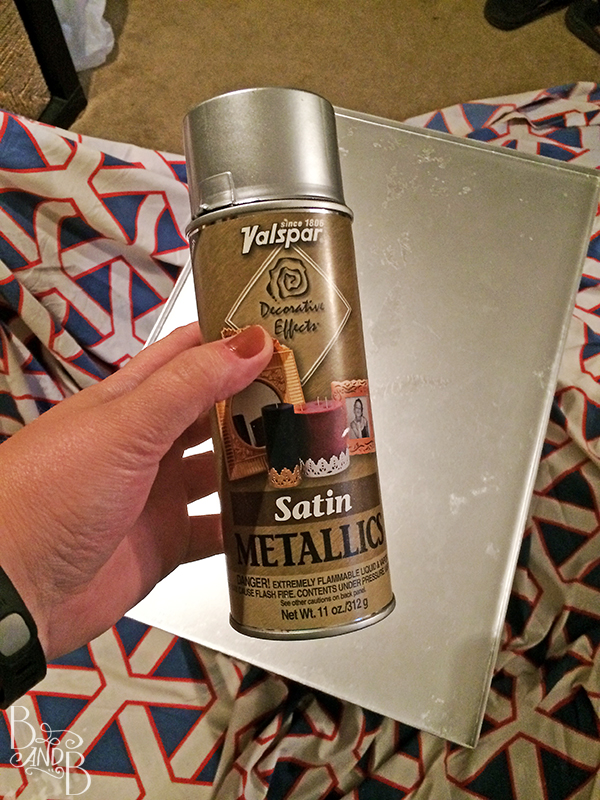
I decided on spray paint for the top and not to just chalk paint the entire piece as I planned to replace the old contact paper with a new paper, one that was lighter in color and I didn’t want the color of the chalk paint to show through.
Once these steps were done, it was just down to painting! I decided to use a foam brush as I was painting metal and feared a regular brush would leave too many brush marks, and because there weren’t a lot of nooks and crannies I’d need to fill with paint which would require bristles.
Oh, and PRO TIP: If you have hardware like the screws pictured below that you don’t want to paint, BUT if you remove them the whole thing will fall apart, simply loosen them enough to get your brush beneath them, but not so far that the piece will fall apart. Easy peasy!

Painting the entire piece took about an hour as I had to wait for sides to dry enough to be able to rotate and paint the next exposed surfaces. But after the first coat it looked like this:

After one coat, there’s clearly some portions that were a bit thin. Overall though it was a coverage to be expected after 1 coat. And after 1 coat she looked like this:
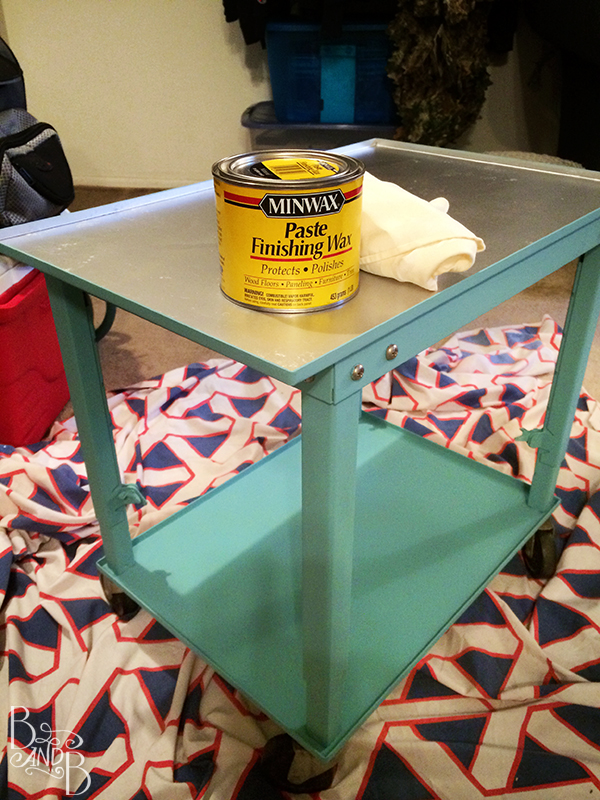
Ok, this is also an ‘after’ shot with the wax I used too. You can pick it up here. The suggested application is with a brush…. but I wasn’t going back out to buy something else after I was finally on a roll with this project. So instead I grabbed an old kitchen rag and got to buffin’. This portion of the process proved to require a much greater deal of elbow grease than expected.

In the end, though I do really like the texture and the coverage of the Chalk Paint, I’d say the wax step was a pain in the bum. I’d rather have zapped the whole deal with some spray paint and had been done with it. But you live and learn, right?
More later this week on where this printer stand actually ends up. Trust me, the finished office is BEAUTIFUL and I am THRILLED to have it — and, well, to have actually finished a project!
Have you been dragging your feet on any projects lately?
~ Beth


1 thought on “Finally, Chalk Paint!”
Comments are closed.