
When gifting things, we all make priorities. We don’t cop to it, but it happens. That cousin that’s the weird mouth breather that always gets you something so you have to give them something too? Yup, they’re bottom tier.
Well these tiers are not about prioritizing what sort of gifting you’ll do. They ARE the tiers!
 You know how, when you think of someone you automatically associate them with certain things? As if that thing were almost like their signature? Well, my best friend’s is Treble Clefs. And sheet music. So when I saw these at Ikea, I KNEW they had to be hers.
But do I buy a full service of dishes? For my best friend? ….that sounded more like a shower gift than a Christmas gift. So I decided to get crafty instead.I had previously read a few tutorials via pinterest on tiered serving trays, but they typically included the use of a drill or dremel to get through the plates and then screw them together. I neither had materials to screw them together, nor the drills to do so. So how to make it?
Here’s what you’ll need: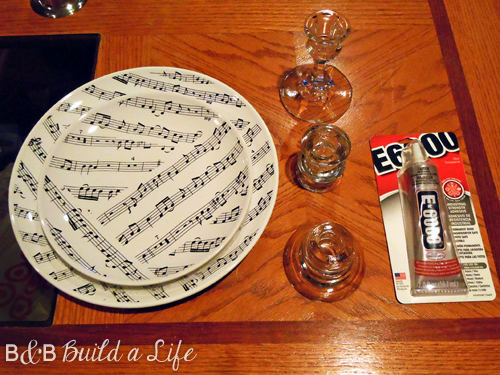 Obviously you’ll need the plates you want to use, but you’ll also need something to separate them with. To avoid detracting from the awesome pattern, I used clear glass candle holders in varying sizes. The piece I used as the base was from Ikea also, while the tall one in the middle was from Goodwill and the topper was from Michael’s. Plus you’ll need a strong glue to put it all together. I chose the E-6000 as I had seen it used elsewhere in blogland with great success.


To help center the pieces as I glued them together, I traced each plate (then the bottoms, depending on which piece I was gluing at the time) on paper, cut it out and folded it in half twice to find the center.
 Once I knew where the center was, I folded the paper circle back. I snipped the corner off creating a hole in the center. Then I unfolded the circle and lined it up on the plate before using the hole in the paper to mark the center of the plate through using a marker.


After the plates were marked, it was time to get gluing! To securely adhere them, the package said to line each item with glue and let it stand for 30 seconds before pressing the two together.

I glued the bottom candle holder to the bottom of the bigger plate first, and the tall candle holder to the bottom of the small plate, then flipped it all and glued the rest of the pieces together and used gravity to help secure them. To be sure, I left it to set upside down for a few days.
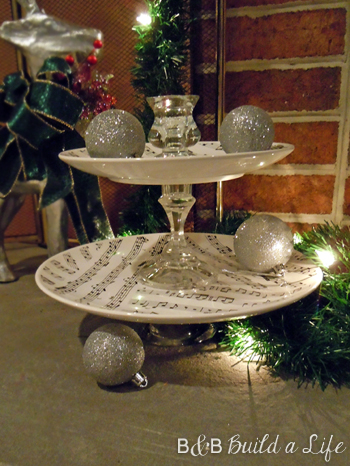
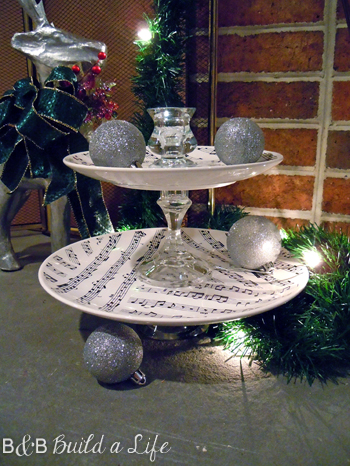
And there you have it, a sturdy and attractive tiered serving tray that just calls to my best friend.

She can use it for the obvious, displaying yummy treats when entertaining…. or to hold jewelry that she prioritizes – bottom tier and special pieces on the top. Or whatever the heck else she wants to display on it!

So there you have it, a bit late due to technical difficulties, but the last of my DIY gifts from 2012!
~ Beth
 Linking to:


Need more inspiration? Check out these other great DIY Gifts:


1 thought on “The Tiers of Gifting ~ Or, a DIY Tiered Platter”
Comments are closed.