
If you’ve ever purchased an apple device of any kind at the Apple store, you’re likely familiar with the joy of ‘unboxing’ — the simple act of getting to open your brand new device. Apple takes care not only to design beautiful products, but even puts detail into their packaging too, making that first time taking the lid off even more fun.
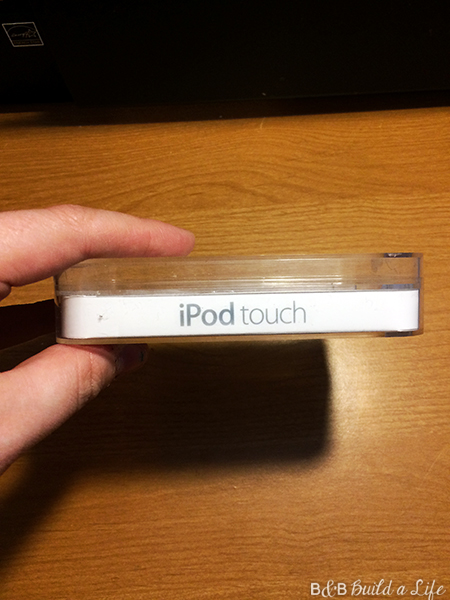
This little old box is going to be cleaned up and turned into a handy travel-sized jewelry case with a little help from wasi tape and patience.
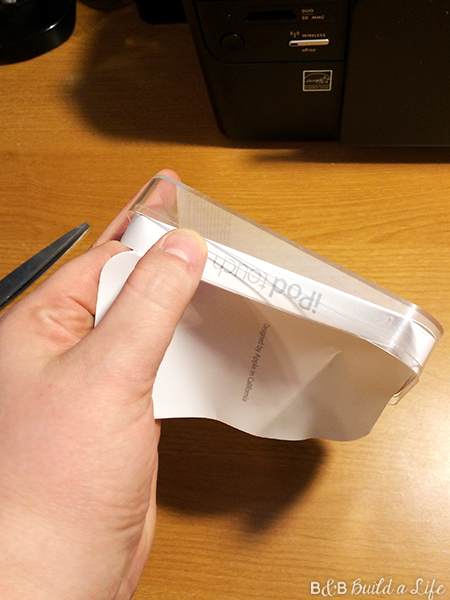
First step, before you can wash it, is to get rid of all the decals, labels, and inner packaging. When you’ve removed the inner cardboard packaging, you’ll be left with 3 clear plastic acrylic pieces – the lid, the inner plate that the ipod was strapped to, and the bottom that contained your earbuds and cord.
Once you’ve cleaned it up, grab a pair of scissors and the middle plate piece. Though it wasn’t too hard to remove the plate from the box when first opening your iPod, that’s because the ipod itself was still strapped to it. Without the iPod to pull on, the inner tray is very hard to remove. To remedy this, use a pair of scissors to trip one of the corners off the plate.

Take your time to avoid cracking the plastic. You may need to take a few passes at it. Depending on your scissors, you may also have to use a nail file to smooth any rough edges you’ve created, but when you finish you should have something close to this.

While we’re looking at this close-up, see those lines lengthwise down the plate? That’s where the plastic was belted through the plate to hold the iPod in place. Those grooves are going to come in handy in a few steps.
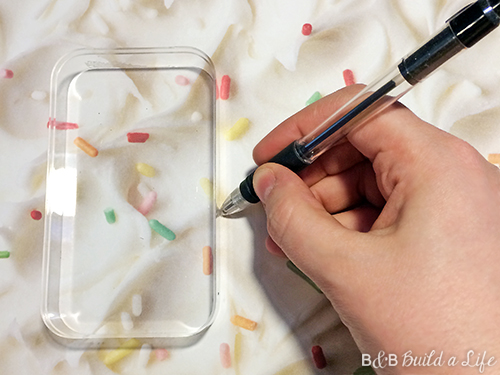
This step and the step after you could technically skip, but they make the box much more fun I think. Pick out a fun paper to lay in the bottom of the box and trace it out. I chose a scrapbook sheet of frosting as jewelry is kind of like people-frosting, and well, it looked fun. I recommend picking a pattern that’s not too busy as it will make it harder to easily see your jewelry at a quick glance.
Once you’ve traced and cut out your paper, set it into your box. You can use tape or glue to make it permanent. Whatever floats your boat.

So now we have the middle plate (left), the bottom tray (center) and the lid. Now, to add a little more flair, we break out the washi tape!

I carefully wrapped the outsides of the box in a single layer of washi tape.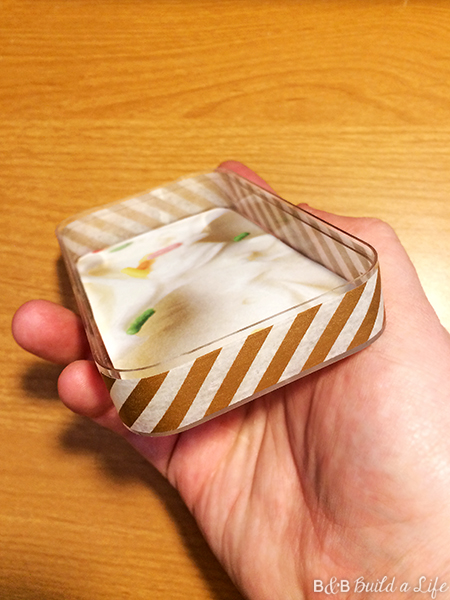
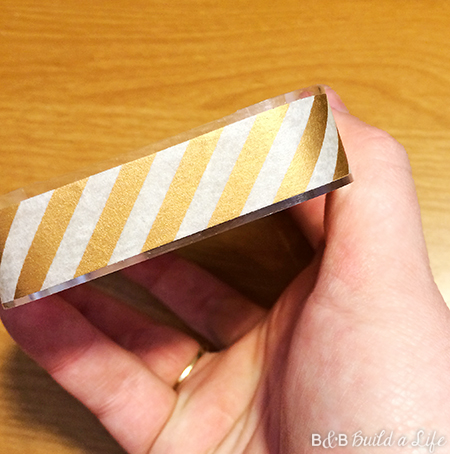
I picked a fun gold striped washi tape that added juuuuust a little bit of a gilded edge without being too flashy or glittery.
 I also added a stripe down the length of one side of the inner tray piece too. By adding a stripe here, you’ll add depth to the box when it’s assembled. And, well, washi tape is just fun to use!
While we’re taking a look at the inner plate, here’s why we cut the corner off. when you place the plate into the bottom piece, it becomes really hard to remove. With the new hole in place, you can easily pluck the plate out of the box.
 So here’s what we have all assembled. The bottom has the tape wrapped around it with the frosting paper set into the floor of the box, the inner tray has the vertical washi tape which helps to show the difference in space between the bottom and the plate. And of course the lid on top to hold everything together.
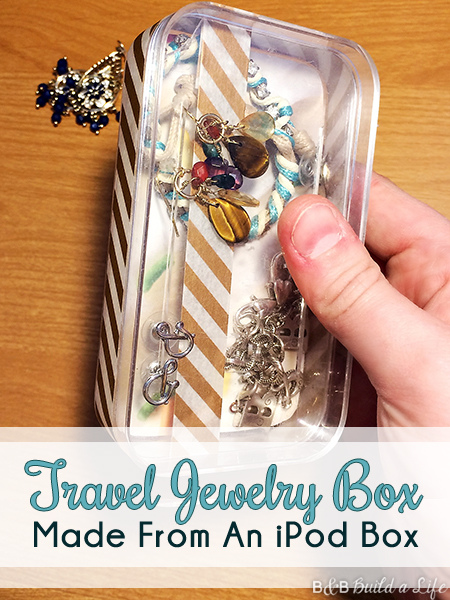
Now all we have to do is load it up with the jewelry we plan to travel with!

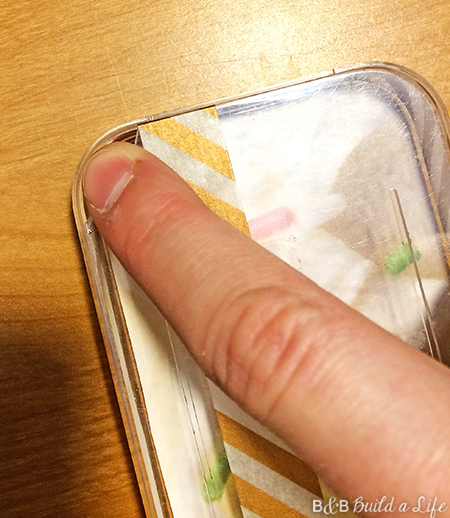
For earrings, push the pins through the grooves and secure in place with the earring backs. You can even feed small-chained necklaces through the grooves to keep them from tangling. Then, in the bottom (pictured here in the middle) place your bracelets and other pieces that wont fit with the grooves above.
 Once you’ve picked out your travel wardrobe of jewelry and placed them in, simply close it all up and away you go!

Now I have a handy little pocket-sized jewelry box to easily stow in my purse or suitcase for wherever I’m headed.
Have you re-purposed any apple devices or packaging?
~ Beth


