
So, I teased about this project back in June. At this point, we’re running out of July. Let’s get this thing done and show you guys how awesome it came out!
Yesterday I shared with you the process Bill & I took to assemble our Ikea inspired Coat Cubby. Lots of pauses in between woodworking, sanding and staining. But now we’ve got to hang it!
First step is to always check for studs. We chose to make our own version of an Ikea piece because we wanted it to be solid and durable. That usually also means it will be heavy, so we had to be sure it was secure and drywall wasn’t going to be enough for this job.
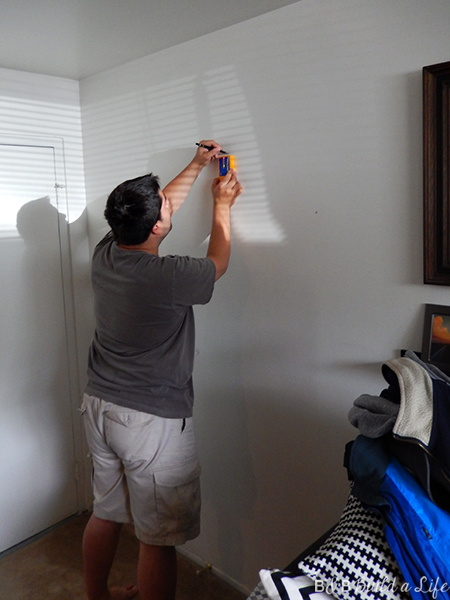 Once the studs were marked and we double checked the positioning of the cubby, it was time to put the drill to work!
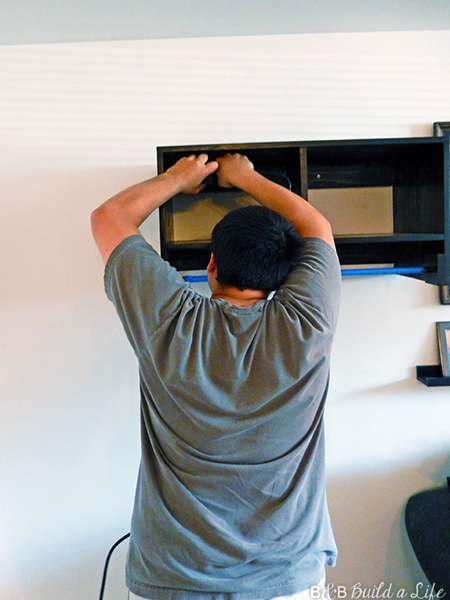
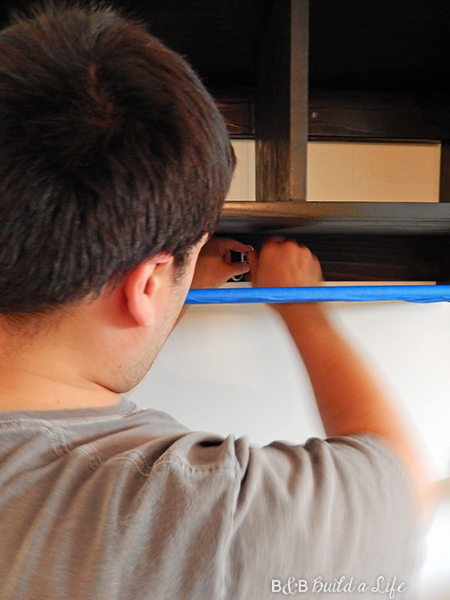
The 2×4 along the back was used to hang the cubby, and it worked perfectly.
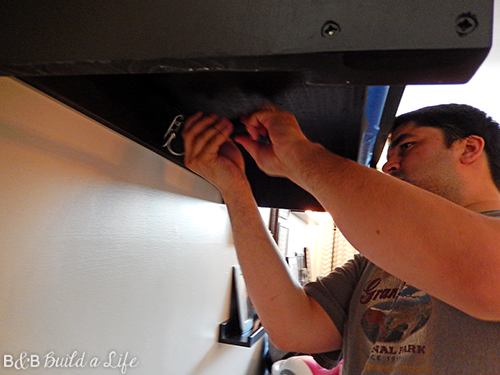
Next, we added the hooks along the back. Mostly because we forgot to do that before. OOPS.
Now, it’s on the wall. Time to prep the baskets for the cubbies!
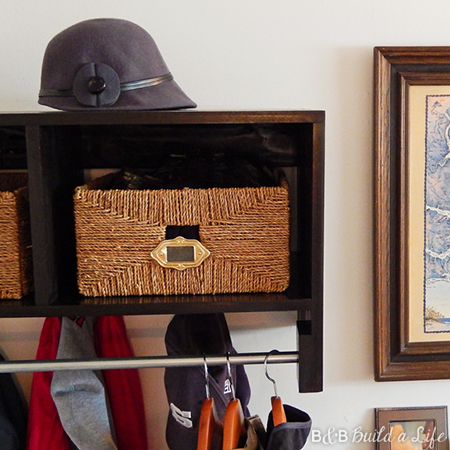
We used half-height Knipsa baskets from Ikea. I picked up a hefty set of 8 full sized and 6 half-sized Knipsa baskets from a guy on craigslist when I first moved to DC 4 years ago, though I’ve never seen the half-height versions in the store.
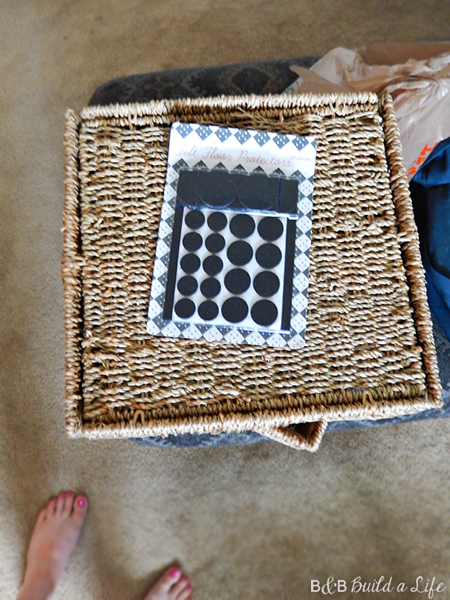
 To protect the cubby from scratches, I used these bumpers from the Target dollar spot to smooth over the rough corners. They worked great!
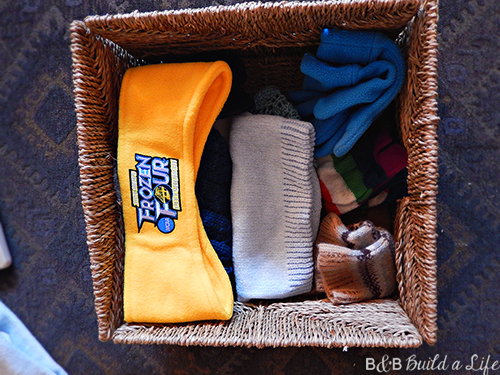
Since this was intended for coats, it only made sense to stow hats and other winter weather gear in the baskets. Bill & I each had one to stow our gear in.
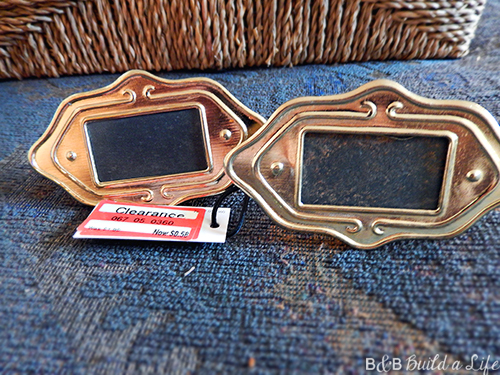
 To label each basket for the appropriate person, I used these napkin rings I found at Target after Christmas. They were marked down to 58 cents each and have a tiny chalkboard in them. I plan to add the appropriate ‘B’ on each later. To add them to the basket, all I had to do was pop them through the front hole and they actually set in just right!
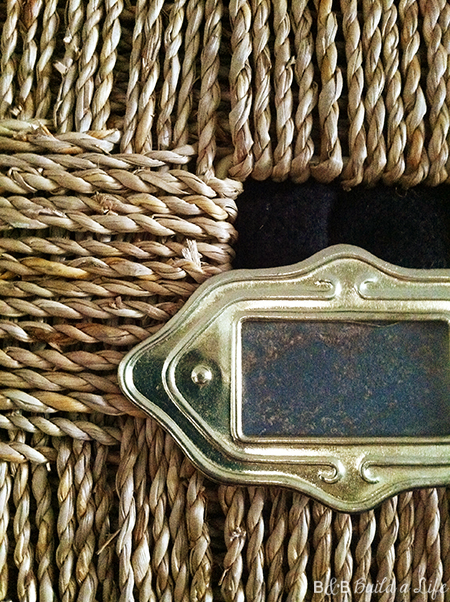
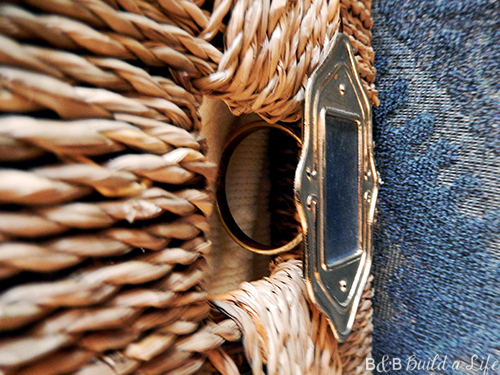
Oh yeah, look at how classy that looks! I LOVE how the natural weave of the basket looks against the gold and slate. I may have stared at them for an awkwardly long amount of time before I put them into their cubby homes.
Ok, let’s refresh your memory before we show you how they turned out…
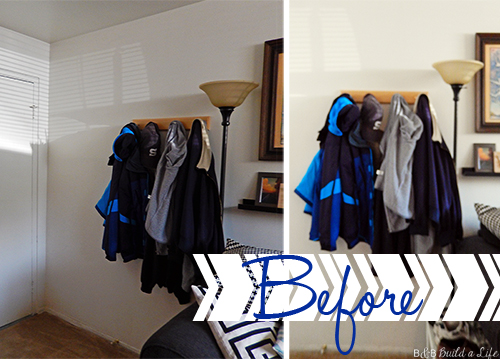 The before. Kinda just there, hanging out, but not really doing anything for the space and serving little storage use.
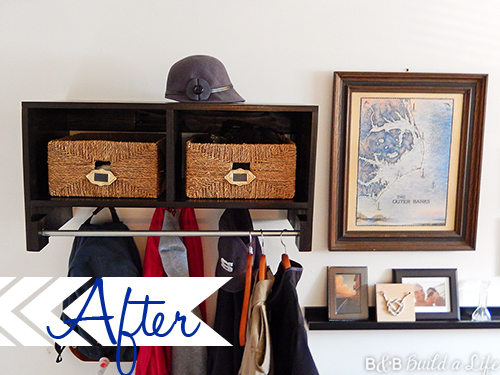
And here’s how our Coat Cubby looks! I think I’m in love. The dark wood. The baskets. The gold and silver. The FUNCTIONAL USE. It’s fantastic!

I’m also really digging how the baskets pull out the lighter tones in the print of the Outer Banks we have. And now Bill has a hook for his backpack, and we have coat space.
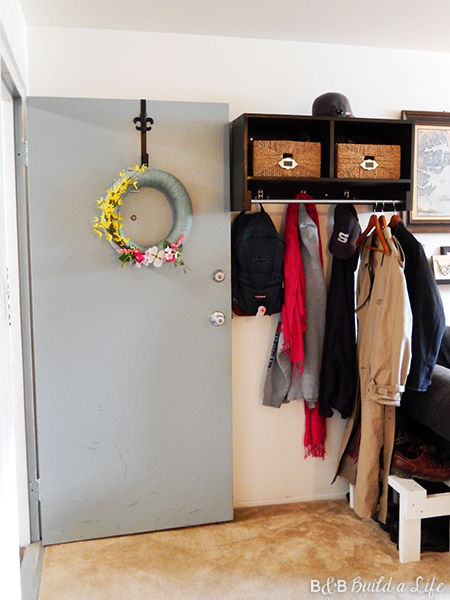
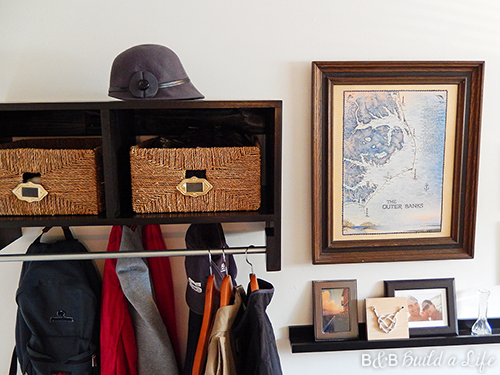
And just in case you’re worried, we did check to be sure we could open the door before we hung it up. And yes, that’s a spring wreath. Did I mention how long this project took? Well the photo edits and composition took EVEN LONGER. Mostly because I took a ridiculous number of after photos. What can I say, I’m a proud Mama to this baby Cubby.

Ahhh, so pretty.


So after a SERIOUS delay, now you know what we WERE working our bums off to finish.
Moving has meant new projects which will hopefully be hitting your readers next week. Until then, have a great weekend!
~ Beth
Related articles
- Ikea Inspired Coat Cubby (bandbbuildalife.com)
Sharing with: 


It looks gorgeous! Well done seeing that project through, looks like it was well worth it 🙂
Wow! That’s pretty cool. I need something like this for my entryway!