
While on one of her near-daily trips to Target, Beth sent me this:
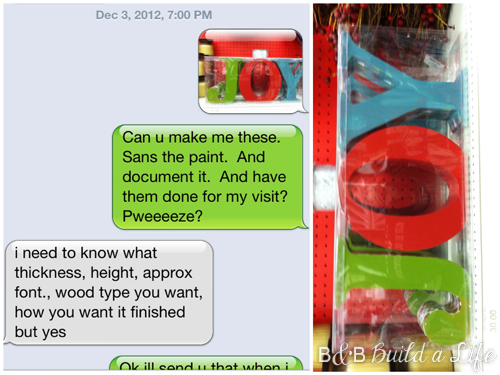
Oh boy. Here goes.
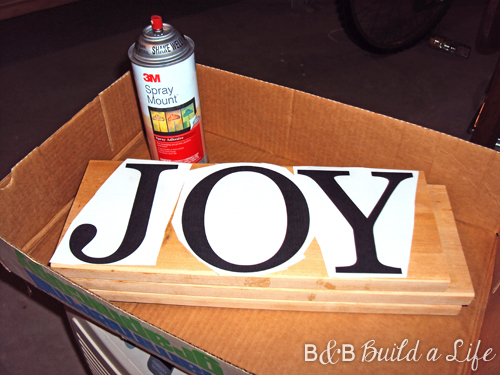
So this project seemed to require a thicker block of wood than anything I had laying around. A fortuitous trip to the ReStore allowed me to pick up a ~4 foot long piece of hardwood of some sort. The first thing, however, was to print out paper templates for the shapes of the characters I was going to cut out of the wood.
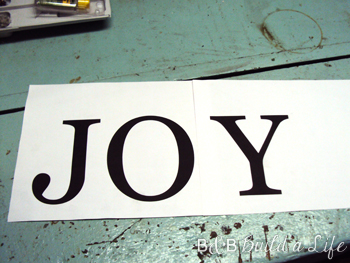
A cursory examination of fonts resulted in Times New Roman as the best choice due to the thickness of the serifs and the stems of the letters, which would probably reduce the chance of parts snapping off during and after their carving.
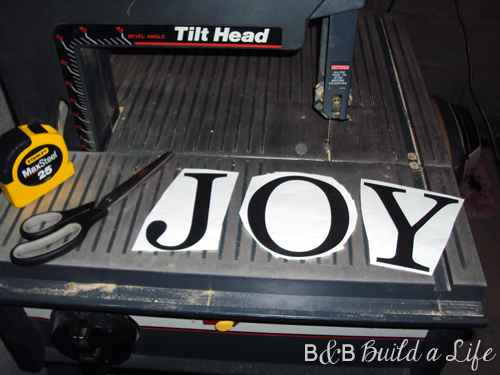
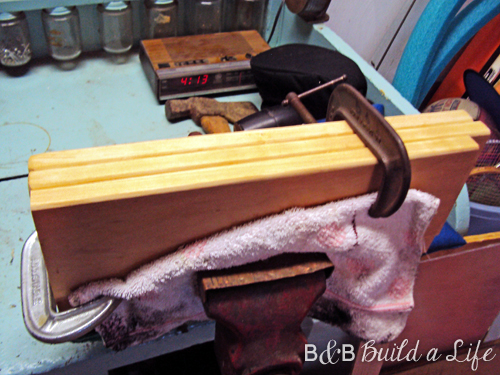
I laid out the letters on the board and roughly determined that they would fit three times on it. I chopped the board into thirds after sanding it well on all sides to remove a preexisting finish. Then I sandwiched the three pieces together with wood glue and clamped it as best I could for several hours. (A good clamp set is on my Christmas list.)
Once the glue had set, I cut out the letters roughly from the paper and attached them to the boards with spray adhesive.
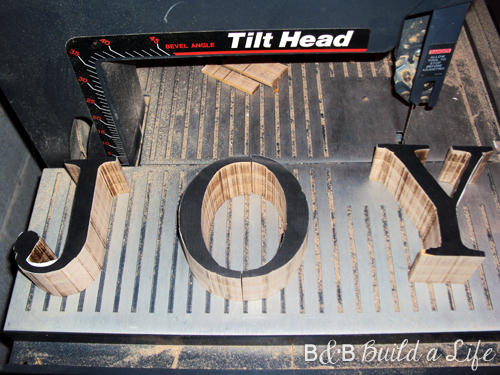
Now, I thought of cutting each letter straight out then working on them separately, but I quickly realized that I could gain more leverage by holding the whole block rather than smaller pieces. It took a long time given the thickness of the wood and what I think may have been a band saw blade needing replacement, about 30-40 minutes per letter.
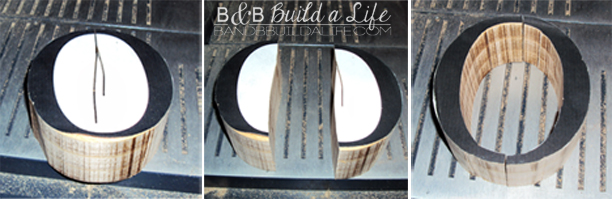
Lacking a scroll saw, I had to saw the O straight in half, then carve out the insides and glue the pieces back together later on.
I think the letters came out fine, but would require significant sanding, ideally with a cylinder sander. (Which I, of course, don’t have.)
Luckily Beth thought the burn marks and jagged edges were attractive to keep in the final piece. (I think she’s crazy) I hand sanded the face surface well and got rid of any burr on the reverse edges after scraping off the black template remnants with a razor.
Once the edges were sanded and cleaned up, I handed them off to Beth for painting.
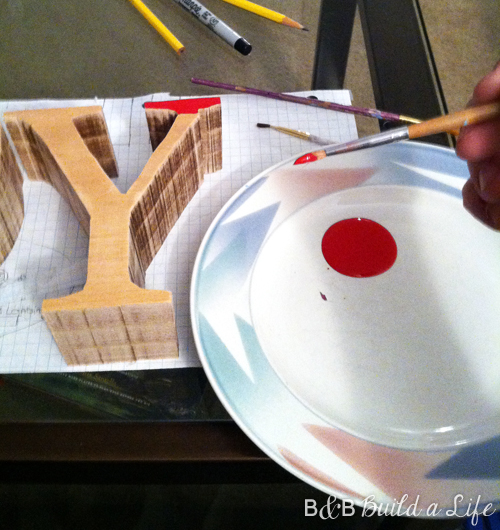
With their colored faces and otherwise unfinished sides, they have a neat rustic quality to them.
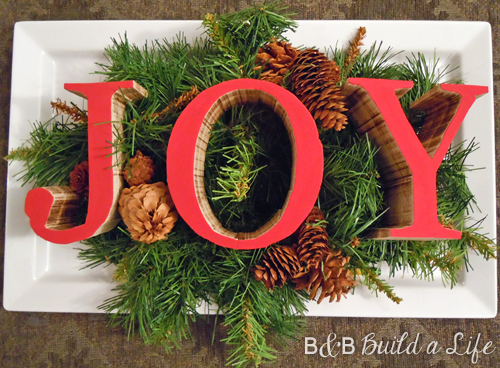
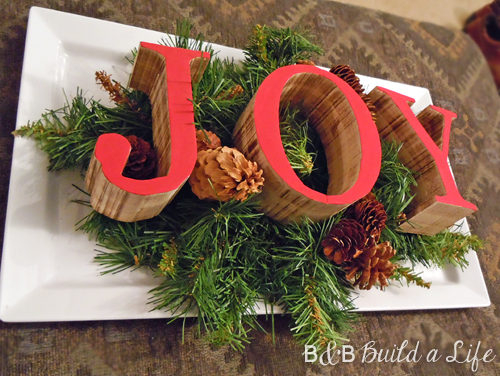
So here’s one last minute DIY with a ‘rustic edge’ for you.
Happy Christmas-eve everyone!
~ Bill
This project FEATURED here:

Sharing here:


Ditto on wanting new clamps. They are so easily forgotten, until it comes time to build something…
So true! — I laughed when Bill flipped on Christmas when he opened a new set, but now he’s in my face with an ‘i told you so!’ hahahaha.
You are featured this week on Busy Monday! Hope you will stop by this afternoon and grab a Featured button from the Button Box. Thanks so much for linking!
How fantastic! Thanks so much for the feature!