
THAT’S WHAT SHE SAID.
Ok, now that we’ve gotten THAT out of the way, on to our topic – water spots on our purdy new butcher block leaf in the kitchen.

Just a few weeks ago we shared with you how my Sister was kind enough to give us her barely-used butcher block kitchen leaf which more than doubled the work surface in our Pittsburgh kitchen.

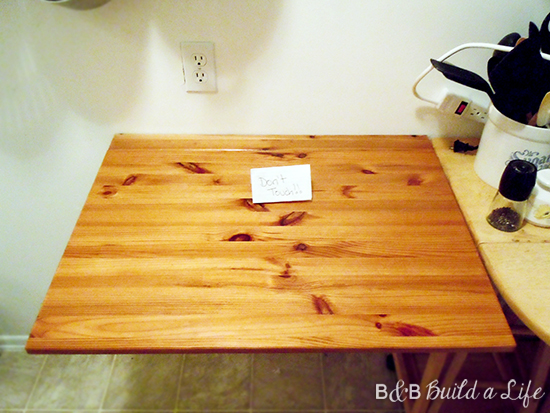
What we didn’t realize was just how THIRSTY the surface was, and within a week of installing it we had all kinds of water spots and glass rings which was beginning to really look nasty. But these things are unavoidable with a kitchen surface, so what are you supposed to do?
Consult Dr Google. Who recommended a read on House*Tweaking. Turns out, proper care and maintenance of butcher block is important, but makes the wood look so pretty when you’re done!
Step 1 – SAND.
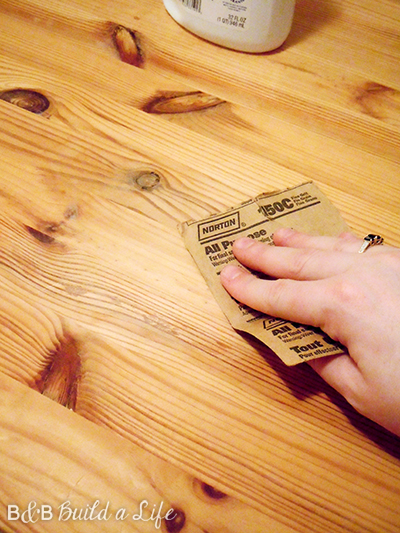
Yep, that’s right. Take a FINE grit piece of sand paper or block and take a little frustration over that last Pinterest fail out on the spots you find. Be gentle, you just need to smooth out the stains which shouldn’t be deep.
Step 2 – Clear the dust
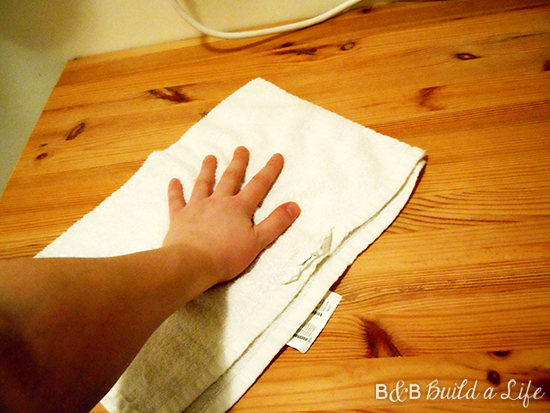
Be sure you get allllll the sawdust from the surface and any other debris that may be present. This will make sure things don’t get nasty in the next step.
Step 3 – Oil ‘er up!
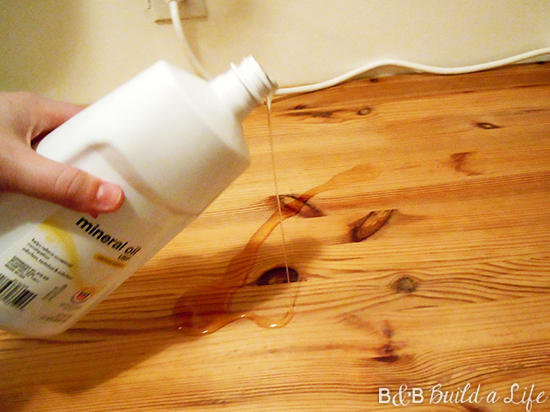
There are products out there specially labeled and designed for use on a butcher block – check your local HD or Lowes. OR just stop by your local drug store for some mineral oil which does the trick just as well. And don’t worry about using too much, that’s not a problem. Just be sure to spread it out all over the surface nice and evenly.
Step 4 – Let it set!
Depending on the age of the wood and how dry the air is (winter is bad for wood!) you’ll need to let the surface sit with the layer of oil on it and allow the oil to be soaked into the wood. You may even want to wait a few hours and add some more. But once you’re ready to walk away, be sure to let it set at least over night to really get a good drink of it.
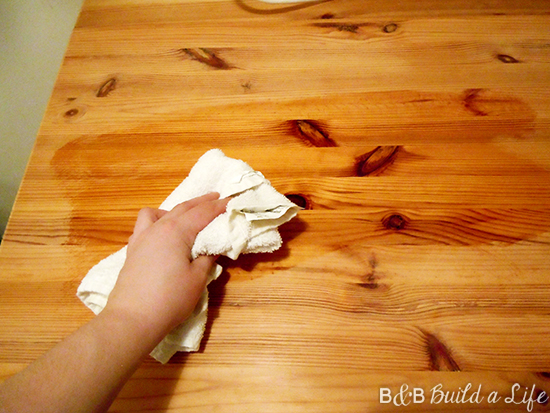
Step 5 – Buff and enjoy!
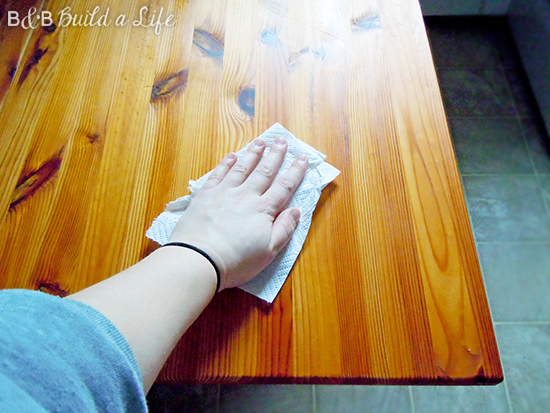 Use another DRY & CLEAN towel or paper towel to buff over the surface and remove any excess, un-soaked-in oil until the surface wipes clean to the touch.
Now you have a fresh, food safe and protected butcher block to use!

Dana at House*Tweaking also suggests hanging on to the towel you originally used to apply the oil. The reason for keeping it is you will eventually have to re-apply the oil over time, just like you would have to re-treat granite counter tops or any other porous surface. Just keep it in a zipped bag to prevent an oily mess wherever you store it.
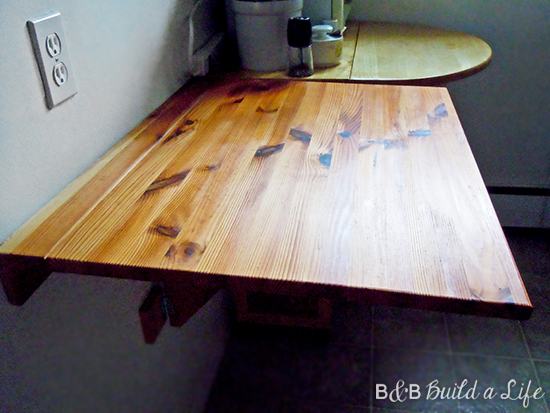
Ahhh there, so much better, and no more spots!
So what conditioning or cleaning have you been up to lately? Or better yet, dropped any awesome That’s-What-She-Saids lately?
~ Beth
Sharing the linky love here: Made in A Day,


Great tips!!!! Pinned:) Our kitchen is butcher block and IKEA has a great oil we used:)
http://www.sewsweetvintage.com/2013/02/flourless-knockout-ninja-brownies.html