
Hermey the Elf won’t approve of these treats! You know who I’m talking about. The elf that Rudolph befriends because he’d rather be a Dentist than a toy maker.
Really, is it so bad to want to clean teeth instead of make trains? Though, if it was because he didn’t want to play with Legos all day, well then I don’t get it either.
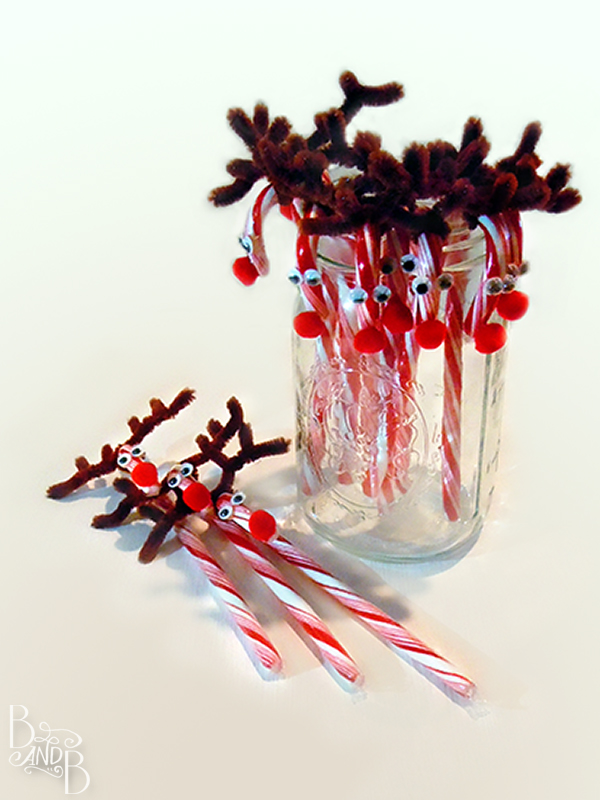
As a little treat to hang on our neighbors’ doors right before Christmas in Pittsburgh, I thought it would be fun to break out the old Girl Scout craft and make Rudolph the Red Nosed Reindeer candy canes. Hopefully, they won’t need a dentist though after these sweets!
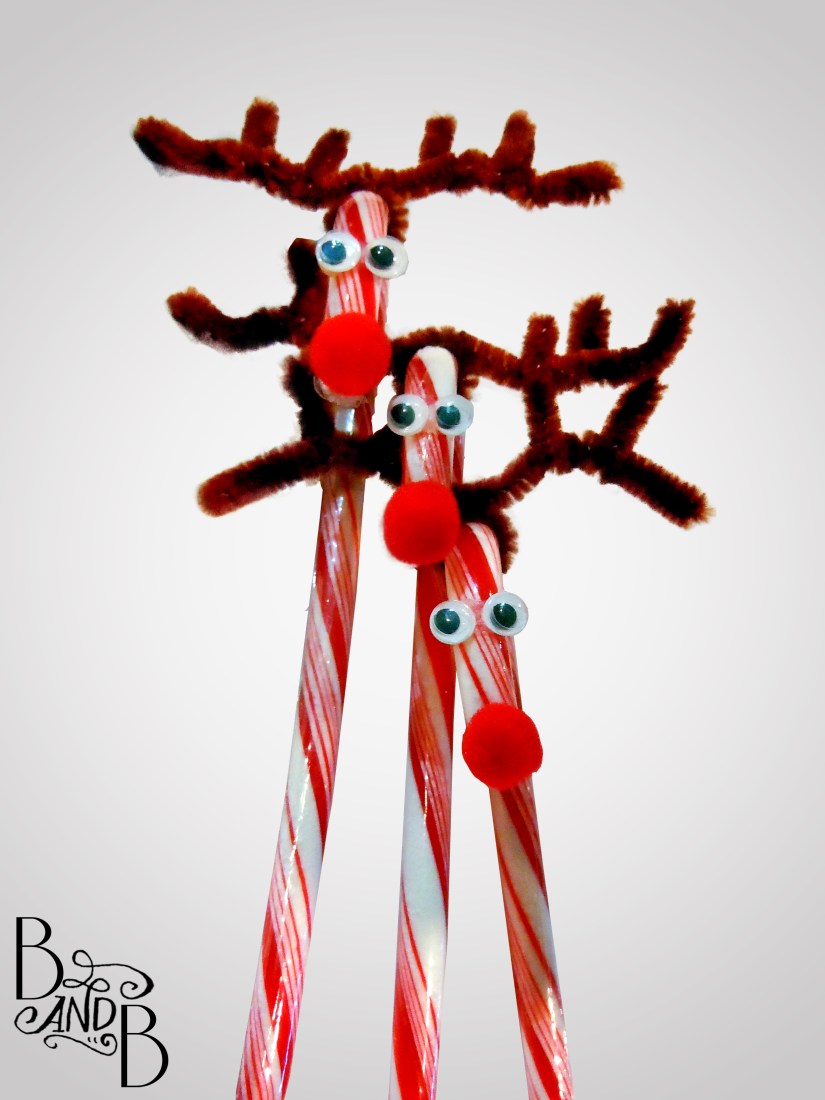
They’re super easy, a full box of 12 took me about a half hour total. Let me show you.
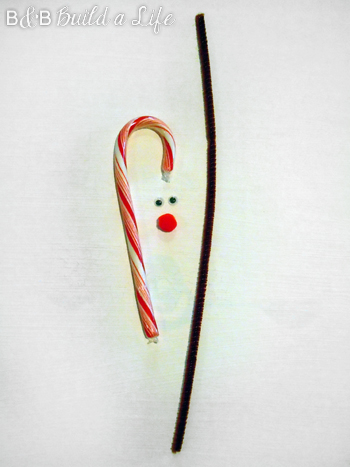
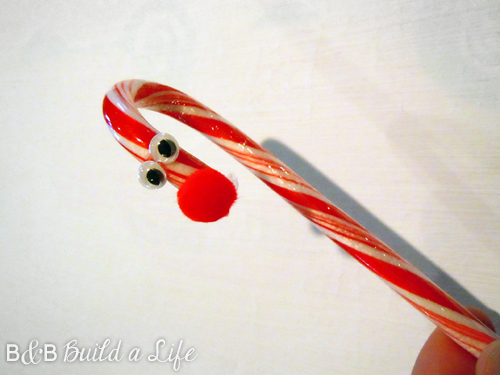
Here are your materials. A standard candy cane, fuzzy brown pipe cleaners, a pair of googly eyes (I like 1/4 Inch size), a small red pop-pom (Also about 1/4 inch in size), and hot glue to put it all together. I did each step in batches to make it easier. First step, Rudolph needs a nose!

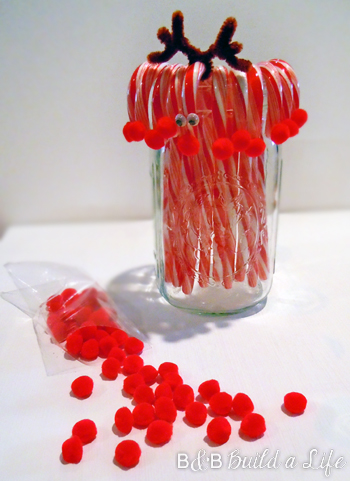
I recommend also using a little dab of glue to smooth down any longer wrapper that may stick out to be sure the pom-pom really stands out (and so it doesn’t look like Rudy has a mustache!)
Next, Rudy needs eyes. I used the side of the glue gun tip to melt the front of the candy cane a bit to create a flatter surface for the eyes. Then I added a drop of glue on the back of each eye and pressed them on.
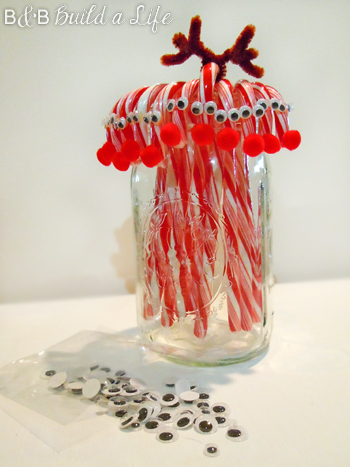
Once they were stuck on, I added another drop of glue behind the part of each eye that stuck out from the sides attached to the sides of the candy cane, to be sure they were good and secure.
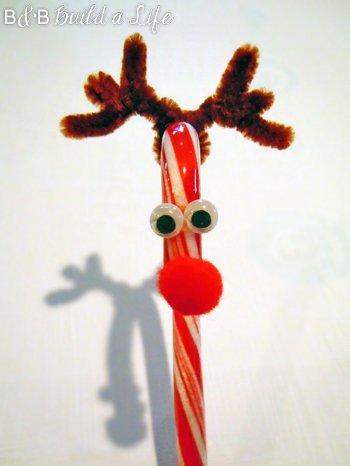
Now that he has eyes, he looks a little…. bald. Here’s where you grab the pipe cleaner and really start to add personality to your candy creature.

Don’t be afraid! Fold the pipe cleaner in half and line the crease up at the top of the candy cane. bend it so it wraps around securely. (You can use a drop of glue to keep it from sliding.)
Once you have it attached to the candy cane, bend the pipe cleaner to resemble antlers. I used my center three fingers as a guide for side lengths, then about the width of one finger for each point. However you want them to look works though!
I plan to add a cute little tag to the bottoms of them with a message ‘Merry Christmas from your Neighbors in Apartment 3!’. I just have to make the tags! (oops!)

For now They’ll just hang out here until I finish the tags. Fortunately, we have about 20 days still to go!
What crafty treats have you been working on?
~ Beth
For more Christmas Crafting Fun, check these out!
 |
 |
 |
| DIY Magazine Trees | Jack Frost Canvas Art | Milk Glass Mantle |
 |
 |
 |
| Seaside Christmas | Tiered Tray Gift | The Gift of Dates |
This post contains affiliate links – If they help you with your crafting and you buy these items, a teeny bit comes our way to help keep the blog running. Thanks for clicking! All thoughts & Ideas are our own.


Oh man, these are so freakin’ adorable!
Sarah
maaan these are so cute! awesome idea 😀
this is such a clever idea- adorable!